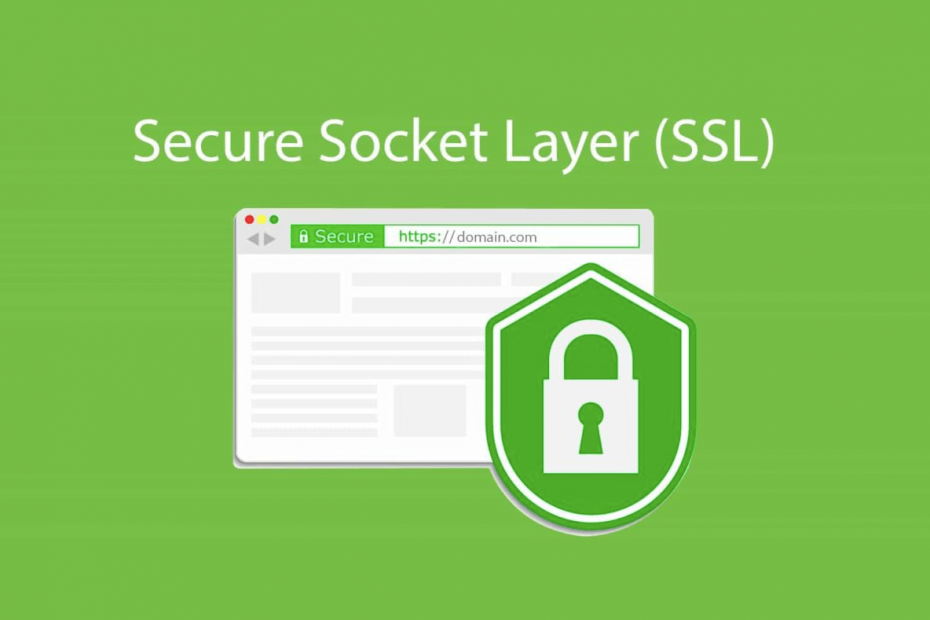
A secured website is essential to become an online success now-a-days. If your website does not have a Secured Socket Layer Protection or SSL Certificate installed on your website it is less likely to get Google’s consideration for its search result on your customer’s query on Google search page. Hence your site will rank lower as per your competitor. In order to learn how to install an SSL certificate for free on your website you may follow several techniques. Some of them are Premium or Paid SSL certificates some of them are FREE and sometimes your Hosting/Domain Hosting provider such as Godaddy or Namecheap also provide SSL certificate. In this tutorial I am going to give you a FREE way to get an SSL certificate installed on your website which will be a Free/Premium tool called ZeroSSL. You should also have access to your hosting’s C-Panel in order to accomplish this.
Step 1
Go to ZeroSSL Sign up with your Email after clicking here ZeroSSL
Step 2
Click on Get Free SSL button on right top corner. Then you need to Create a Free account by putting your email and desired password.
Step 3
Click New Certificate. Enter Your Domain in the following example format ‘mydomain.com’. It will automatically select both www and without www versions of your domain. Click on Next Step
Step 4
Select 90-day certificate or you want a Pro Version of ZeroSSL you may also choose 1-year certificate
Step 5
Make Sure AutoGenerate CSR is on and click on Next Step
Step 6
If you want to enjoy premium features of ZeroSSL you may choose of variety of premium plans in this step or just keep Free plan selected and click on next step
Step 7
Now in this step you need to choose a verification method in order to verify your ownership for the domain you entered. I would suggest you to use HTTP file upload. Make sure you have your hosting’s c-Panel access. Once you select the HTTP file upload it will ask you to download the auth file. Download and save it locally in your system. Now open your hosting’s c-panel
Step 8
Under your hosting’s c-panel go to File Manager and upload the downloaded file in the following path in the home directory. Path: .well-known/pki-validation If these folders are not there first go to settings option of your c-panel and check if the hidden files option is checked or not. Even after selecting the Show Hidden Files option is checked, the above folders are not shown then create these folders and then upload the file.
Step 9
After uploading the file on your server go back to the ZeroSSL dashboard and click on the next step and then click on Verify domain. Hopefully you get a success message if you’ve done all correct. In case you do not get it verified feel free to reach me.
Step 10
Once you get the success verified message then download the certificate files in .zip format. Unzip it in a folder.
Step 11
Now Go back to the c-panel again and scroll down to Security Section of your C-panel and click on SSL/TLS and then navigate towards ‘Manage SSL Certificates’
Step 12
Now under the Install an SSL Website section Select your domain name choose your domain name (choose the option that includes all you subdomain etc.)
Step 13
Now open the Certificate file in notepad and copy and paste it under Certificate: (CRT). Same you need to do with the other two files Private Key (KEY) and Certificate Authority Bundle: (CABUNDLE) and then click Install Certificate and You’re done.
Conclusion
This is a simple way, How to install SSL Certificate for Free. However ZeroSSL also provide some premium features if you wish you may also upgrade to their Premium plans to avail advanced features here ZeroSSL Upgrade Plans
